
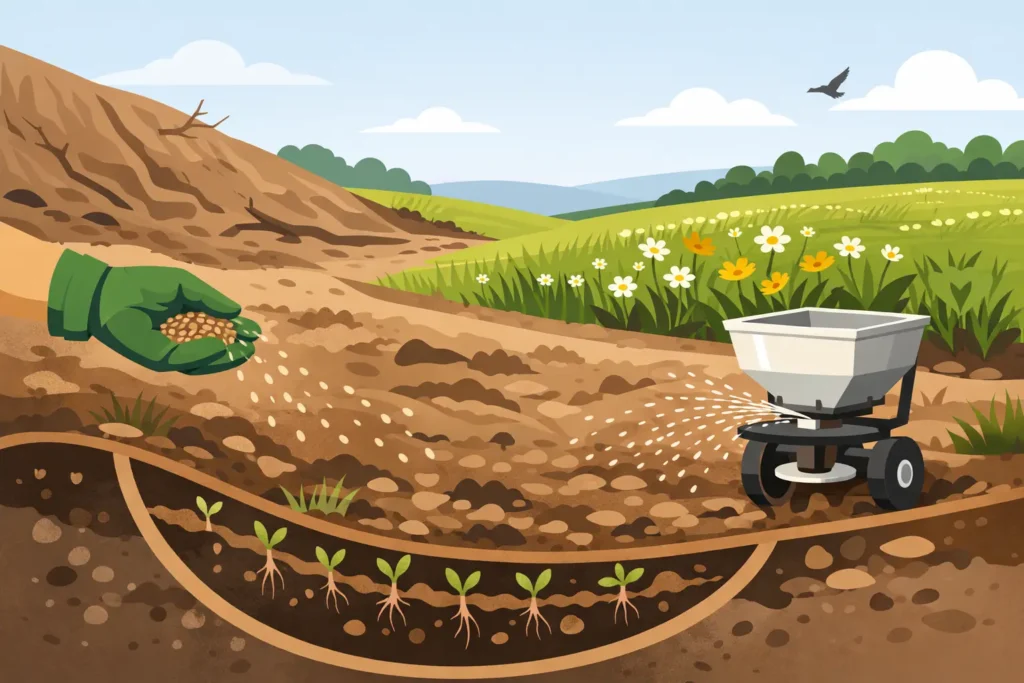
A disturbed site can look ready for seed long before it is ready to support vegetation. Construction traffic, grading, stockpiling, trenching, and topsoil handling can leave behind compacted layers, uneven moisture, sparse organic matter, and exposed slopes. Knowing how to seed disturbed soil means treating those limitations before they become establishment failures.
For reclamation contractors, land managers, municipalities, and producers, the objective is rarely just green cover. The stand needs to hold soil, manage runoff, meet a land-use goal, and persist through variable weather. The right approach starts with the site, not the seed bag.
Start With the End Use and Site Conditions
Disturbed soil is not one condition. A pipeline right-of-way, a road shoulder, a solar site, a commercial lot, and a pasture renovation can all have different compaction levels, soil depths, drainage patterns, and vegetation targets. A seed mix that establishes well on a level, loamy site may struggle on a dry cut slope or a saline area.
Before selecting species, identify what the site must do after establishment. Is the priority rapid erosion control, long-term native restoration, durable turf, forage production, or a combination of these? That answer guides the mix, seeding rate, and maintenance plan.
Assess the soil surface and the soil profile where practical. Look for hard, sealed ground; wheel ruts; crusting; steep or eroding areas; standing water; imported fill; and areas where topsoil is thin or absent. A basic soil test can also reveal pH, salinity, nutrient levels, and organic matter concerns. Testing is especially useful where the site has been heavily graded, where subsoil is at the surface, or where vegetation has failed before.
Prepare the Seedbed Without Creating New Problems
Seed needs close contact with moist soil, but disturbed ground does not always benefit from aggressive tillage. The goal is to create a firm, receptive seedbed while preserving slope stability and avoiding unnecessary disturbance.
On compacted ground, shallow loosening may be needed so roots and water can move into the profile. Deep ripping can be useful when a dense layer is restricting drainage or rooting, but it should follow the slope contour where erosion is a concern. On steep grades, limit soil movement and use practices that keep the surface protected.
Where topsoil has been stripped or mixed with subsoil, replace or redistribute suitable topsoil if available. Topsoil supports early establishment because it typically contains more organic matter, biological activity, and water-holding capacity than exposed subsoil. It is not a cure-all, however. Poor handling can compact it, bury it too deeply, or leave a rough surface that is difficult to seed evenly.
Finish with a seedbed that is level enough for uniform placement, slightly rough enough to slow runoff, and firm enough that footprints sink only lightly. A loose, fluffy surface may appear well worked, but seed can settle too deep after rain or lose contact with the soil beneath it.
Manage residue and erosion materials carefully
Straw, mulch, erosion-control blankets, and tackifiers can protect vulnerable soil and conserve moisture. They are particularly valuable on slopes, bare fine-textured soils, and locations exposed to wind. Apply them after seeding in a way that protects the surface without smothering seedlings or preventing light from reaching small-seeded species.
Avoid using weed-heavy hay or unknown organic materials. They can introduce unwanted species that compete with the intended stand and complicate reclamation requirements. The material and application rate should match the project conditions, not simply cover the ground as heavily as possible.
Choose Seed That Fits the Site, Not Just the Calendar
The best seed blend balances early cover with long-term persistence. Fast-establishing species can stabilize soil quickly, while longer-lived grasses, legumes, or native species build the durable plant community needed for the site’s final use.
For a working landscape or reclamation project, species selection should account for moisture, soil texture, salinity, elevation, exposure, and expected maintenance. A dry, windy location may need drought-tolerant species with strong fibrous root systems. A moist low area needs plants that tolerate periodic saturation. On saline or sodic ground, standard turf or pasture mixes may fail regardless of how well the seedbed was prepared.
Native seed can be appropriate where restoration objectives call for local ecological function and diversity, but it often requires patience. Many native species establish more slowly than conventional cover crops or introduced grasses. A temporary companion crop may help protect soil in some projects, yet it can also compete for moisture and light. The decision depends on the site and the permitted vegetation outcome.
Forage and pasture sites have a different target. The blend should reflect intended grazing or hay use, soil fertility, moisture supply, and the expected lifespan of the stand. Establishment is only the first step. Species must also tolerate traffic, harvest, grazing pressure, and seasonal conditions.
How to Seed Disturbed Soil at the Right Depth
Depth is one of the most common causes of poor establishment. Most grass, forb, and many native seeds are small. They generally perform best when placed at or near the surface, often no deeper than one-quarter inch. Large-seeded legumes or grains may be planted somewhat deeper, but burying a mixed blend at one uniform depth can favor some species and eliminate others.
Drill seeding provides accurate placement and good seed-to-soil contact on accessible, relatively even sites. It is often a strong option for pasture establishment, broad reclamation areas, and projects where consistent depth matters. On rough terrain, narrow corridors, steep slopes, or inaccessible areas, broadcast or hydraulic seeding may be more practical.
Broadcast seed at the appropriate adjusted rate to account for the less precise placement method, then use a harrow, cultipacker, or similar tool where conditions allow to press seed into the surface. Hydraulic seeding can distribute seed, mulch, and tackifier efficiently over difficult terrain, but the mix and mulch rate still need to fit the site. It is not a substitute for correcting severe compaction, poor drainage, or unsuitable soil conditions.
Calibrate equipment before starting. Seed mixes often contain species with different seed sizes and densities, which can separate during transport or flow unevenly through equipment. Keep mixes properly blended, check coverage across the site, and avoid running too fast for the equipment to place seed consistently.
Time Seeding Around Moisture and Temperature
Timing matters because seedlings are most vulnerable in the first few weeks. Seed when the soil has enough moisture for germination and when the site can support emerging roots. In many regions, spring and late summer to early fall are favorable windows, but local conditions should drive the decision.
Spring seeding can take advantage of moisture, although cool soils may slow certain species and annual weeds may emerge aggressively. Late-summer seeding can reduce some weed pressure and avoid peak summer heat, but it requires enough time and moisture for seedlings to establish before winter.
Dormant seeding may suit some native restoration projects. Seed is applied after soil temperatures are consistently low enough to prevent fall germination, then germinates when conditions improve the following season. This practice requires careful species selection and a stable seedbed. It is not the best answer for every site, especially where erosion protection is urgently needed.
Protect the Stand Through Establishment
Seeding day is the beginning of the work, not the finish line. Inspect the site after rainfall, high winds, and early germination. Check for rilling, washouts, crusted soil, ponding, seed movement, and areas where mulch has shifted. Correct small problems early before they become larger repair areas.
Weed pressure should be managed with the desired species in mind. Mowing can reduce tall annual weeds in some situations, but timing and cutting height matter. Cutting too low can remove young seedlings along with the weeds. Herbicide decisions require equal care because many newly seeded broadleaf species, legumes, and native plants are sensitive to treatments that may be acceptable in a grass-only stand.
Keep vehicles, equipment, and unnecessary foot traffic off newly seeded areas. Compaction and rutting can undo seedbed preparation quickly, especially when soils are wet. If the project includes grazing, delay turnout until plants are well rooted and capable of recovering from defoliation.
A successful stand may not look perfectly uniform in its first season. Some species emerge quickly, while others establish roots before showing much top growth. Evaluate performance against the project objective, not only against short-term color or density. Where there are thin areas, determine why they failed before reseeding. The cause may be poor seed placement, runoff, salinity, compaction, or inadequate moisture rather than the seed mix itself.
For demanding sites, a custom blend and a practical establishment plan can make the difference between a temporary green surface and durable land recovery. Proterra Seeds works with the conditions that shape Western Canadian projects, helping match seed choices to the real demands of disturbed ground. Build the stand from the soil up, and it has a far better chance of holding when the weather and workload test it.